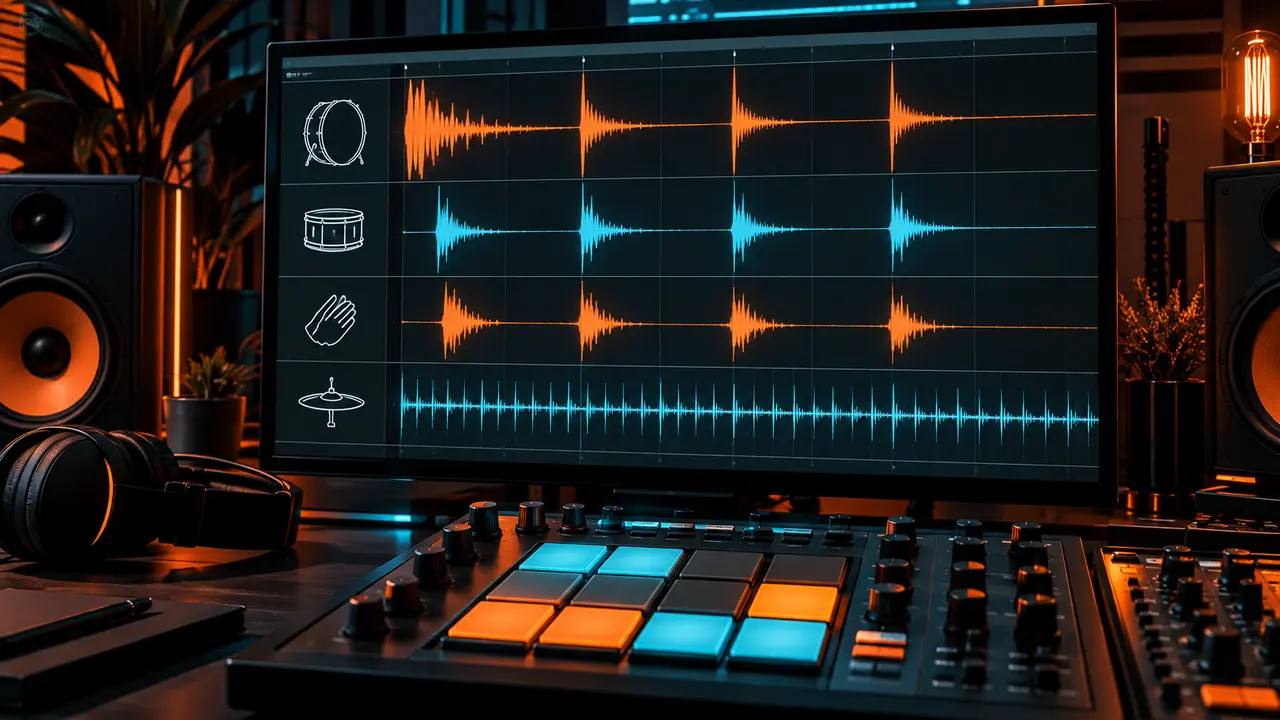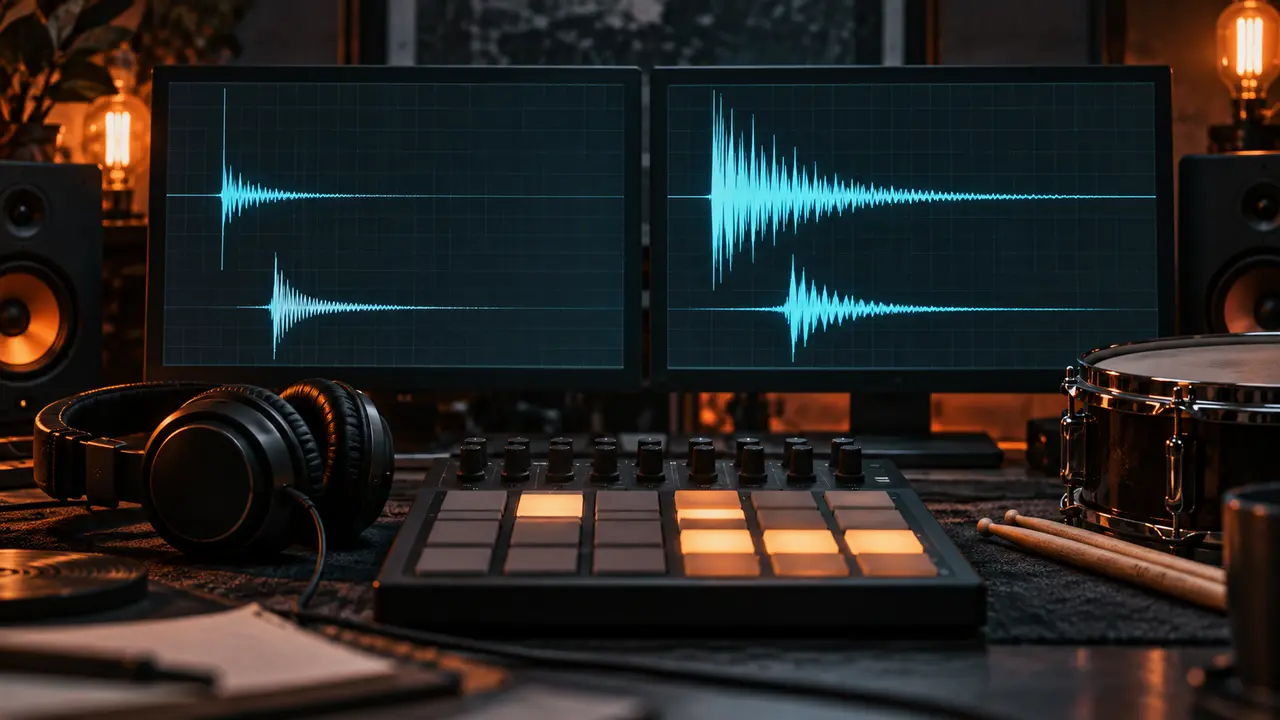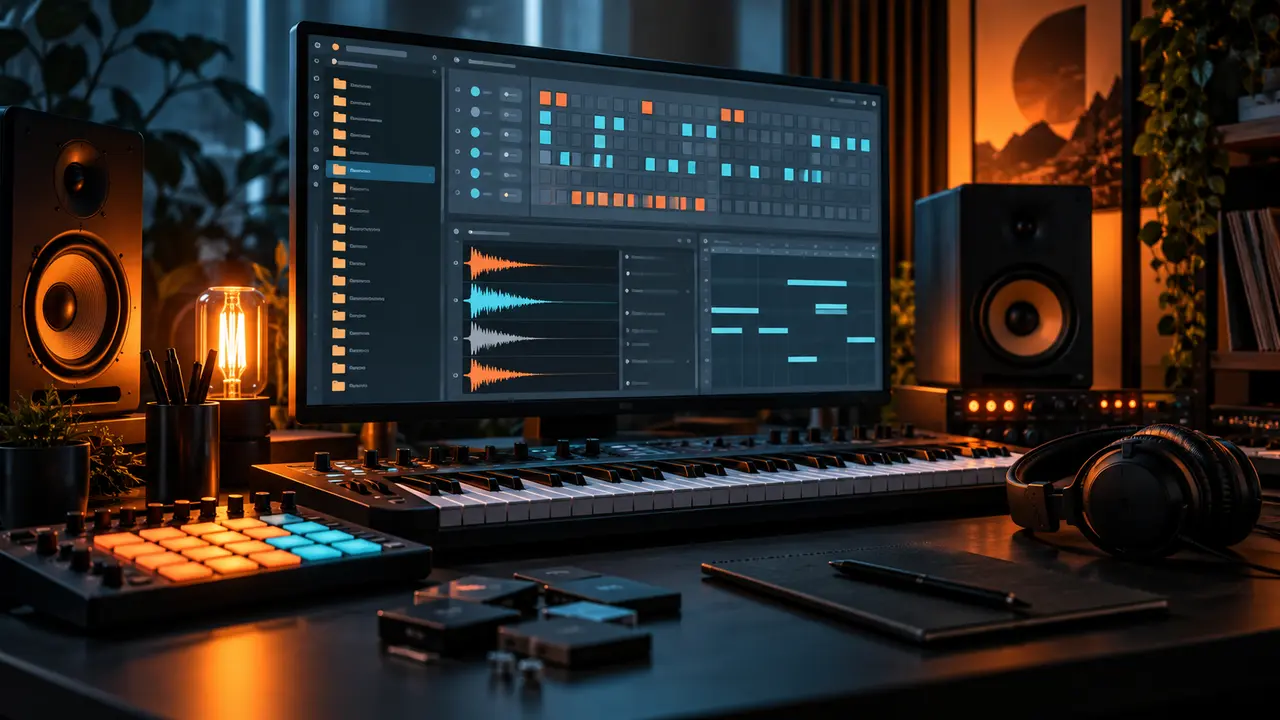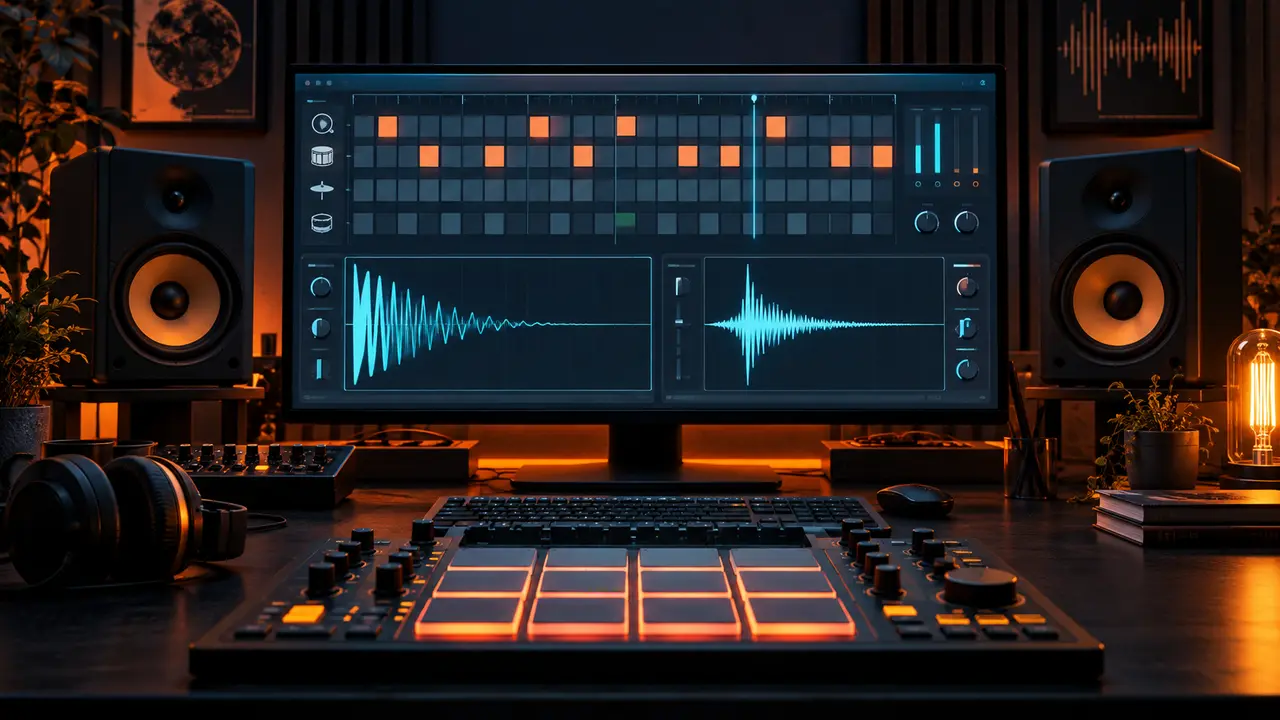
If your drums sound strong in the browser but weak inside the beat, the problem is usually not a missing mastering plug-in. Start with the sample, balance and arrangement. Those three choices decide most of the impact before compression enters the chain.
Work through these eight fixes in order. Stop as soon as the drums feel right; every beat does not need every technique.
Quick answer: fix the source before the processing
Choose one kick and one snare that already fit the track, set their levels against the melody, adjust velocity and sample length, then make room for their attacks. Use transient shaping, saturation or clipping only for a specific remaining problem.
- Audition samples while the whole loop plays.
- Match comparison levels so louder does not automatically win.
- Remove layers that do not add a clear function.
- Check the groove at low monitoring volume.
1. Start with a strong sample
A weak source rarely becomes a convincing main drum after a long effect chain. Pick a kick with the right balance of attack, body and tail for the 808. Pick a snare whose center remains audible beside the melody.
In FL Studio, drag several candidates from the Browser onto the same Channel Rack slot one at a time and play the full pattern. Keep channel volume consistent while comparing. Ableton Live users can audition through Drum Rack or Simpler; Logic Pro users can swap files in Quick Sampler or Drum Machine Designer.
A focused collection makes this faster. Compare drums from the Trap Drum Kits, Drill Drum Kits or Boom Bap Drum Kits according to the beat rather than choosing by filename alone.
2. Do not stack several weak sounds
Layering three thin kicks usually creates a larger peak, not a harder hit. Their low frequencies can partly cancel, while slightly different attacks soften the front edge. Try the best single sample first.
If you add a layer, give it one job. A short click can add attack to a round kick; a quiet clap can add width to a centered snare. Level the layer down until you notice it mainly when it is muted. For a full method, read How to Layer Drums the Right Way.
3. Use velocity to create a clear accent pattern
Impact needs contrast. If every hat, ghost note and backbeat uses the same velocity, the loud hits have nothing to push against. Lower supporting notes and leave the main kick or snare accents stronger.
FL Studio lets you edit note velocity in the Channel Rack graph controls or Piano Roll velocity lane. Make changes by role rather than randomizing everything. In Ableton, adjust MIDI note velocity; in Logic, use the Piano Roll velocity controls. Velocity changes may alter volume, timbre or both depending on the sampler and instrument.
4. Set the drum level before adding plug-ins
A drum can feel weak simply because it sits too far behind the melody or 808. Pull the other channels down, bring the kick and snare into balance, and leave headroom on the master. Do not judge punch only by making the drum louder than everything else.
Listen quietly. The main rhythm should remain obvious without the kick or snare becoming painful at normal volume. Then compare with a reference track at a similar perceived loudness; a mastered reference played louder is not a fair target for an unfinished beat.
5. Shape the transient only when the attack needs help
A transient shaper can emphasize the front of a drum, but too much attack can create a click and reduce body. First check whether the sample starts late, has silence before the transient or uses a slow fade. Trimming the start may solve the problem more cleanly.
If the source is close, add a small amount of attack and compare at matched level. FL Studio, Ableton Live and Logic Pro can all use third-party transient tools, but the principle is the same: adjust while the full beat plays, then bypass the effect often.
6. Add clipping or saturation in moderation
Soft clipping can control short peaks and let a drum feel denser at a similar peak level. Saturation can add harmonics that help a kick or snare translate on smaller speakers. Neither process fixes a poor sample or crowded arrangement.
In FL Studio, Fruity Soft Clipper is a simple option. Lower the signal into it first, add only enough drive to hear a useful change, and level-match the processed version. Ableton users can use Saturator with its clipping options; Logic users can use an appropriate saturation or distortion tool. Watch for flattened transients and harshness.
7. Remove low-frequency clutter from non-bass sounds
Rumble in loops, effects, pads or percussion can reduce the space available to the kick and 808. Use a high-pass filter only where unwanted low energy is actually present. Do not apply the same cutoff to every channel.
Sweep while the whole track plays, then back off before the sound loses useful body. Also shorten long reverb tails that fill the next drum hit. Cleaning one noisy loop may help more than boosting the kick.
8. Leave room in the pattern and arrangement
A hard drum needs a moment to be heard. If a bass note, chord stab, vocal chop and percussion hit all begin on the same step, their transients compete. Move or remove the least important event before processing the main drum.
Try muting the kick under selected 808 notes, reducing hats around the snare, or shortening a melodic hit that lands on the backbeat. Impact often comes from the gap before and after the hit.
A fast FL Studio check
- Loop eight bars with the full arrangement playing.
- Mute all drum processing.
- Choose the strongest single kick and snare.
- Set their levels and note velocities.
- Shorten competing tails.
- Add one processor only if you can name the remaining problem.
Conclusion
Harder drums come from strong sources, clear accents and enough space for the transient. Get those parts right first. A small amount of clipping, saturation or transient control can then finish the sound without turning the mix into a repair job.