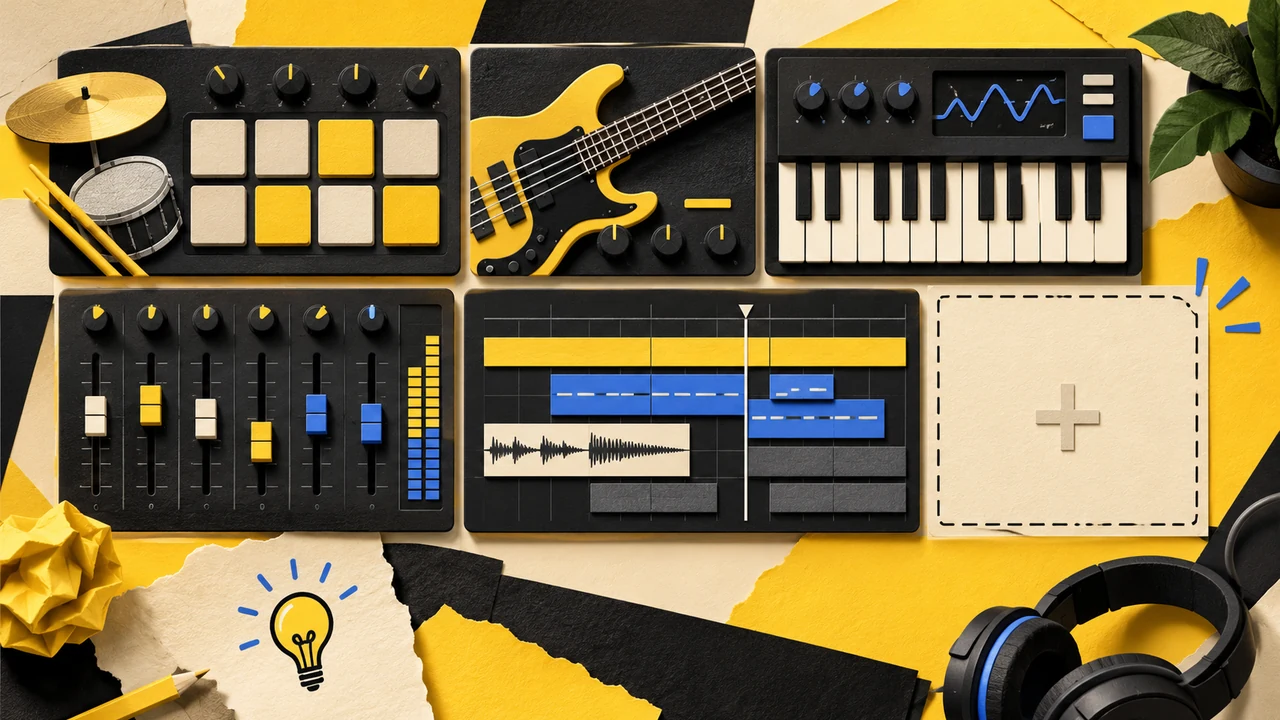
A good FL Studio beat template removes repeated setup but does not pre-mix the song. It can provide named Mixer groups, basic routing, timeline markers and empty instrument placeholders while leaving sound selection and arrangement open.
The template should load quickly and explain itself months later. If it contains dozens of disabled plug-ins, unused channels and genre-specific processing, it has become a preset maze rather than a starting point.
The short answer
A good FL Studio beat template removes repeated setup but does not pre-mix the song. It can provide named Mixer groups, basic routing, timeline markers and empty instrument placeholders while leaving sound selection and arrangement open.
The template should load quickly and explain itself months later. If it contains dozens of disabled plug-ins, unused channels and genre-specific processing, it has become a preset maze rather than a starting point.
What matters before you start
Automate routine decisions
Names, routing and markers are safe to prebuild because they rarely dictate the music.
Leave creative decisions empty
Do not force the same kick, 808 or master chain into every project.
Keep a clean master version
Save revisions under a new template version and test them in a disposable project before replacing the working default.
A practical workflow
- 1. Define the minimum channel groups
Create only the groups you use regularly: drums, bass, music, vocals or effects as relevant.
- 2. Prepare mixer routing
Name source inserts and buses, check that every route reaches the master exactly once, and keep levels neutral.
- 3. Add timeline markers
Use a simple arrangement map as a prompt, not a fixed song structure.
- 4. Create empty utility sends
Set up reverb or delay sends only if they are genuinely part of most sessions, and leave effects bypassed or conservative.
- 5. Add a notes area
Record the tempo idea, key, source pack and any license details in the project information.
- 6. Test and trim
Produce one short beat from the template. Remove every channel, plug-in or marker that did not save time.
Common problems and how to fix them
Loading a huge sample library at startup
It increases project weight and biases every session toward the same sounds.
Saving active master limiting as a default
It can hide balance problems and change comparisons.
Never updating the template
A stale workflow accumulates workarounds. Review it after several completed tracks.
A focused practice exercise
Time how long it takes to reach a record-ready blank project without a template. Build the smallest template that removes those steps, then time the process again. Keep only changes with a measurable workflow benefit.
How to make the decisions in context
Build an FL Studio Beat Template That Speeds Up Real Sessions is easier to apply when every move answers a musical problem. Before changing anything, play the relevant section from a few bars before the change to a few bars after it. That longer window reveals whether the result supports the phrase, transition and energy of the track. A choice that sounds impressive in a short solo loop can still weaken the full arrangement. Keep the level matched as closely as practical so a louder version does not win by default.
Start with automate routine decisions. Names, routing and markers are safe to prebuild because they rarely dictate the music. Treat that as the control condition for the session. Make one clear change, replay the same passage and write down what improved: timing, separation, impact, movement or speed of use. If the benefit cannot be named or heard consistently, return to the simpler version. This keeps the workflow connected to the primary goal: create a reusable project that removes setup without forcing the same sound.
Next, check leave creative decisions empty. Do not force the same kick, 808 or master chain into every project. Listen once at the normal working level, once quietly and once with the whole beat playing. Quiet playback is useful for judging hierarchy because the strongest rhythmic roles remain obvious while decorative details recede. Full-context playback shows whether the technique competes with bass, melody, vocals or effects.
Finally, use keep a clean master version as the restraint test. Save revisions under a new template version and test them in a disposable project before replacing the working default. Duplicate the pattern, channel or project state before a larger edit so the original remains available for comparison. The point is not to avoid experimentation; it is to make experiments reversible and easy to judge. Commit only when the edited version works in more than one listening context.
This decision process also makes collaboration clearer. Instead of saying a version is simply “better,” describe the function of the change: the backbeat reads sooner, the low end leaves more headroom, the fill announces the next section, or the library is faster to navigate. Functional language helps another producer understand the intention and reproduce the result without copying arbitrary settings.
A second-pass review that catches weak choices
After completing the first workflow, take a short break and begin the review from define the minimum channel groups. Create only the groups you use regularly: drums, bass, music, vocals or effects as relevant. Do not immediately edit while the track is playing. First identify the exact moment where the result stops supporting the music, then make the smallest change that addresses that moment. This prevents a local problem from turning into an unnecessary redesign of the whole pattern or setup.
At the middle of the process, revisit create empty utility sends. Set up reverb or delay sends only if they are genuinely part of most sessions, and leave effects bypassed or conservative. Compare the section before and after that step at the same start point. If the technique improves one element but creates a new conflict elsewhere, solve the conflict at its source rather than stacking corrective processing. Fewer deliberate moves are easier to recall, automate and revise later.
The final review should include test and trim. Produce one short beat from the template. Remove every channel, plug-in or marker that did not save time. Then test the result in at least two arrangement sections. A loop can hide repetition, tail overlap and transitions that only become obvious across a complete phrase. If the article's workflow is organizational rather than sonic, close and reopen the project or preset and confirm that files, names and routing still resolve as expected.
Watch specifically for “Loading a huge sample library at startup.” It increases project weight and biases every session toward the same sounds. Also check for “Saving active master limiting as a default.” It can hide balance problems and change comparisons. These are useful failure tests because they focus attention on behavior, not on a screenshot or a fixed plug-in value. If either problem appears, step back to the last version that worked and change one variable at a time.
Save the successful version with a useful name and enough context to understand it later. For a pattern, that can mean tempo and section role; for a rack or template, it can mean instrument purpose and version; for an export, it can mean song, stem role and revision. Clear versioning is part of production technique because it lets you experiment without losing a reliable result.
Session checklist
Use this short order when practicing FL Studio beat template. It is a reminder, not a rule: skip a checkpoint only when the track gives you a clear reason.
- Define the minimum channel groups
- Prepare mixer routing
- Add timeline markers
- Create empty utility sends
- Add a notes area
- Test and trim
Finish by bypassing or comparing the complete change, not just its final component. Confirm that the result still serves the original intent, survives a quiet playback pass and remains understandable when the project is reopened. If it does, stop editing and move to the next musical decision.
Useful next reads
Keep the next session focused with these related DRUMKITS.SHOP guides and resources:
Frequently Asked Questions
Should a beat template include sounds?
Only trusted utility sounds if they genuinely appear in most projects. Empty placeholders are safer for creative variety.
Should plug-ins load disabled?
A few lightweight utilities can be practical, but dozens of inactive plug-ins add clutter and compatibility risk.
Can one template cover every genre?
A neutral base can. Create separate variants only when routing and recording needs are truly different.
How often should I revise it?
Review it after a group of finished tracks, not after every experimental session.
Conclusion
The best template is almost invisible: it gets you to sound selection and arrangement faster, then stays out of the way.