Creative block is often a decision problem disguised as an inspiration problem. You open the DAW, audition hundreds of sounds, build eight bars and lose the thread before the arrangement begins. A better music production workflow protects the original idea from too many choices.
These ten methods are designed for beatmakers who want to finish more music without rushing the result.
1. Start with a written constraint
Before loading sounds, choose a tempo range, one reference mood and a maximum number of main instruments. Constraints create direction. They also make it obvious which samples do not belong.
Try: “142 BPM, dark two-chord loop, one 808, four main drum voices.” You can break the rule later, but the first decisions will support the same record.
2. Build a session palette in ten minutes
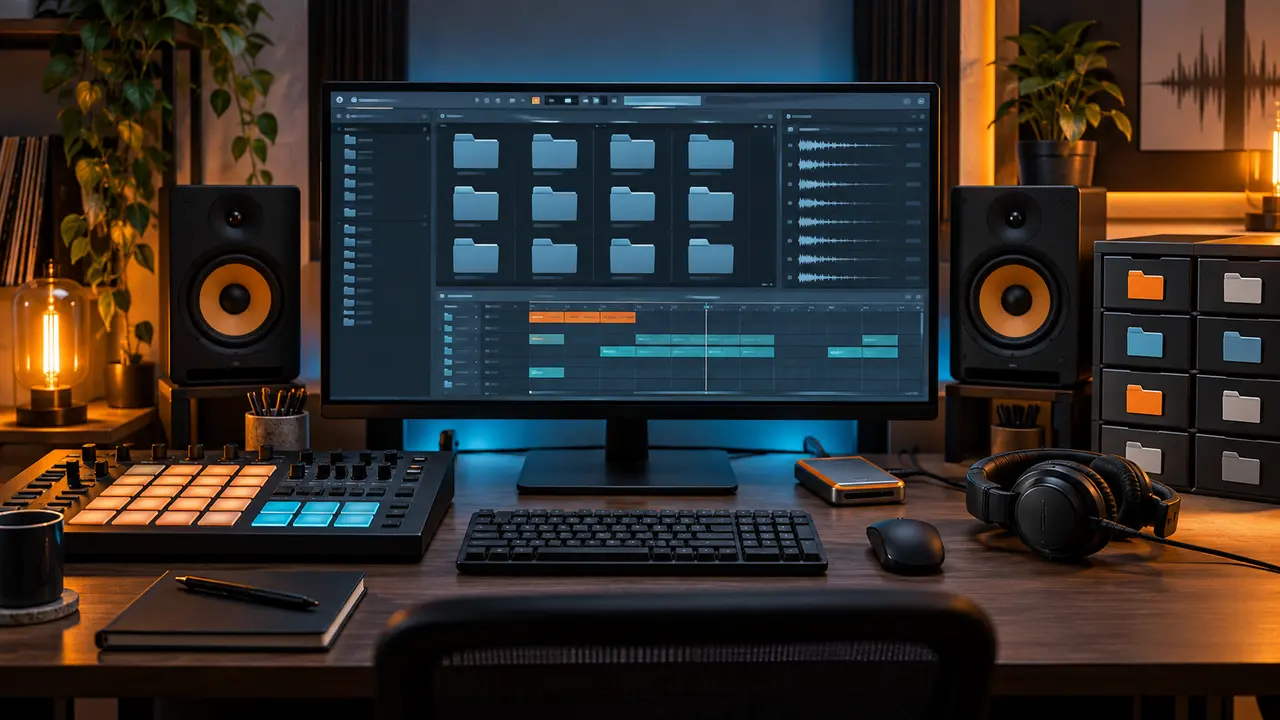
Give yourself a fixed window to choose two kicks, two snares, three hats, two bass sounds and a handful of percussion. Put them in a temporary project folder or sampler channel group. Do not keep the full library open beside the arrangement.
A focused genre collection—such as Trap Drum Kits or Drill Drum Kits—can shorten this step because the sounds already share a vocabulary.
3. Separate writing from sound design
During the writing pass, make rhythm and harmony decisions with sounds that are good enough. During the sound-design pass, replace or shape only the elements that have a clear problem. Switching between these modes every few seconds creates friction.
Mark a channel with a simple note such as “snare needs more body” and keep arranging. A precise note is easier to solve later than a vague feeling that the beat is unfinished.
4. Arrange before the loop feels perfect
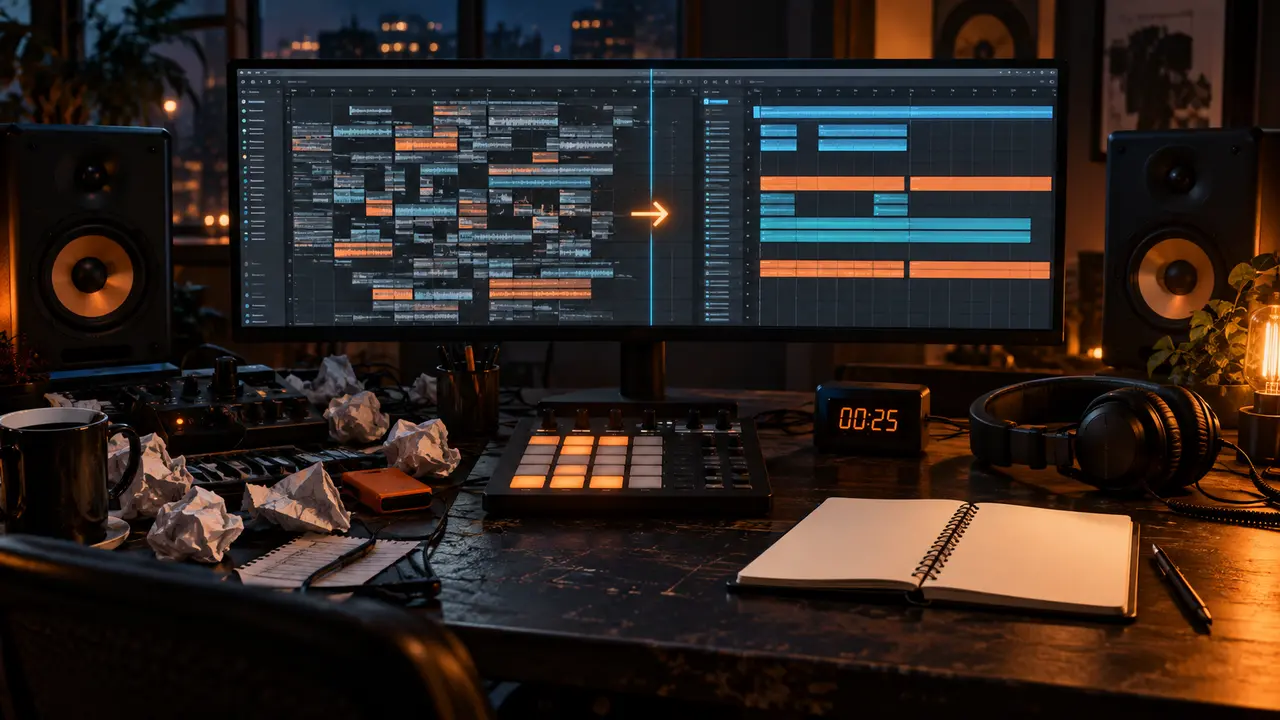
Once the eight-bar loop communicates the idea, duplicate it into a rough song length. Remove drums for the intro, reduce the bass before transitions and create one higher-energy section. Empty space immediately reveals what the arrangement needs.
Perfection inside one loop can become a trap because every added detail raises the cost of making structural changes. Build the timeline while the idea is still flexible.
5. Use loops as prompts, not prison
A loop can provide harmony or texture quickly, but it should remain editable. Slice it into sections, change the starting point, mute one phrase or resample it through your own effects. Even a small edit can create room for your drums and make the arrangement feel authored.
For material intended for transformation, explore the focused sample packs and loop kits. The free “Aurora” Vintage Sample Pack is one public option for practicing chops without committing to a large purchase.
6. Create contrast with subtraction
Finishing faster does not mean adding faster. Remove the kick from the first half of a verse, mute the melody tail before a chorus or let the 808 answer instead of playing continuously. Subtraction creates sections without requiring a new sound for every moment.
Listen from the start and mark every point where your attention drops. Change density, register or silence at those points before reaching for another plug-in.
7. Commit MIDI and resample decisions
When a part works, bounce a copy to audio. You keep the editable source, but the audio clip makes the decision visible and easier to arrange. Resampling also encourages deliberate edits instead of endless preset changes.
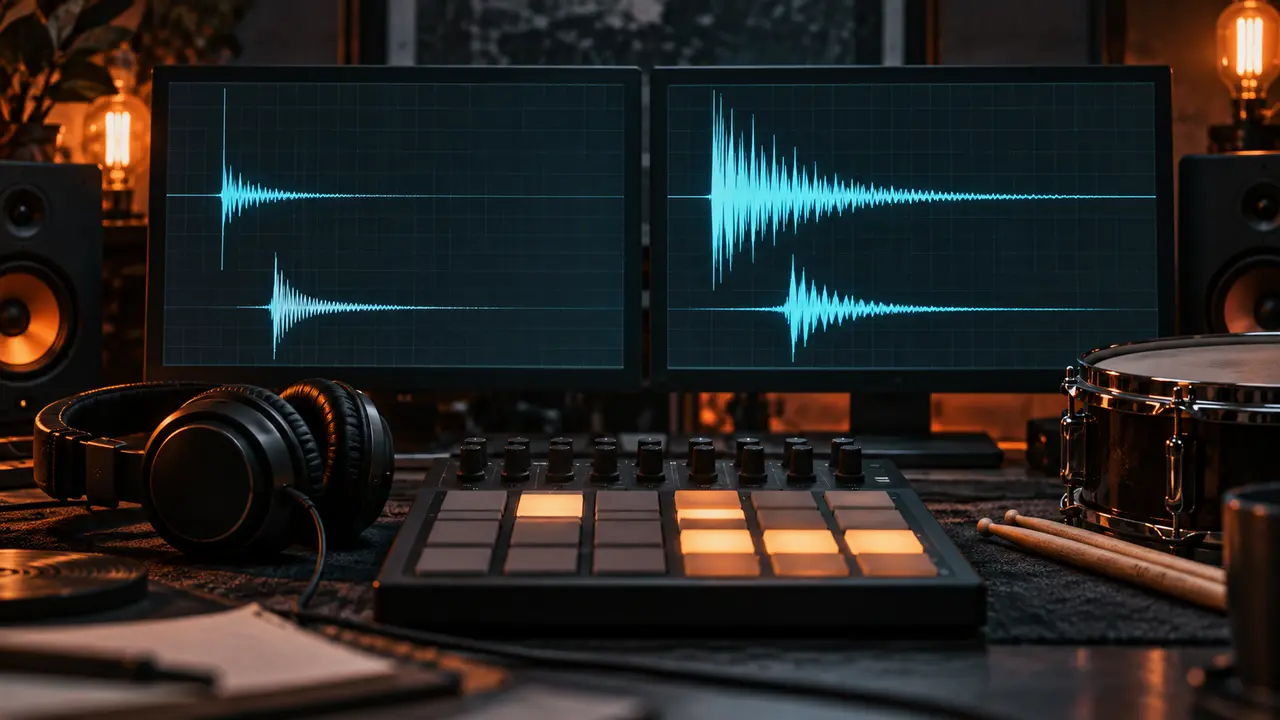
For drums, consolidate layered hits once phase and balance are correct. For 808s, keep a MIDI backup but print a clean version so slides and note endings are easy to inspect.
8. Use checkpoints instead of endless undo
Save a new version at meaningful stages: idea, arrangement, sound pass and mix. Checkpoints give you permission to commit because earlier decisions remain available. They also stop one project file from becoming an unreadable stack of disabled channels.
Name versions by stage rather than “final final 3.” A clear session history is part of workflow, not administration.
9. Set a finish definition
A beat is ready for export when the arrangement is complete, no element distracts from the main idea, levels are controlled and the file translates at several volumes. It does not need every possible detail.
Make a short checklist and use it on every track. Consistent finish criteria train your judgment and reduce the emotional decision of whether a record is “good enough.”
10. Review the process after export
After exporting, write down the one stage that consumed the most time. If it was drum selection, organize a smaller favorites folder. If it was harmony, prepare a few progressions or loop sources. If it was arrangement, create markers at the beginning of the next session.
Improve one bottleneck at a time. A large library such as the All Drum Kits Bundle is most useful when you curate it into smaller working sets rather than browsing the entire archive for every beat.
Use a two-session finish system
When possible, divide the beat across two sessions. Session one is for writing: choose the palette, build the main loop and create a full rough arrangement. Export it before stopping. Session two begins with fresh ears and a written list of no more than five fixes.
Start the second session by listening away from the screen. Mark only structural or distracting issues: an intro that is too long, an 808 note that overwhelms the chorus, a snare that loses impact or a section that lacks contrast. Solve those items in order. New instruments are allowed only when the arrangement has a clear empty role for them.
This method prevents fatigue from turning into endless browsing. It also makes progress measurable: the first session produces a complete timeline; the second makes that timeline communicate. If a third session is needed, reserve it for mix translation and export—not rewriting the original idea.
Conclusion
Finishing is a repeatable skill. Use constraints, choose a small palette, arrange early and separate creative modes. Better sounds help most when they reduce repair work and make the next decision obvious.